
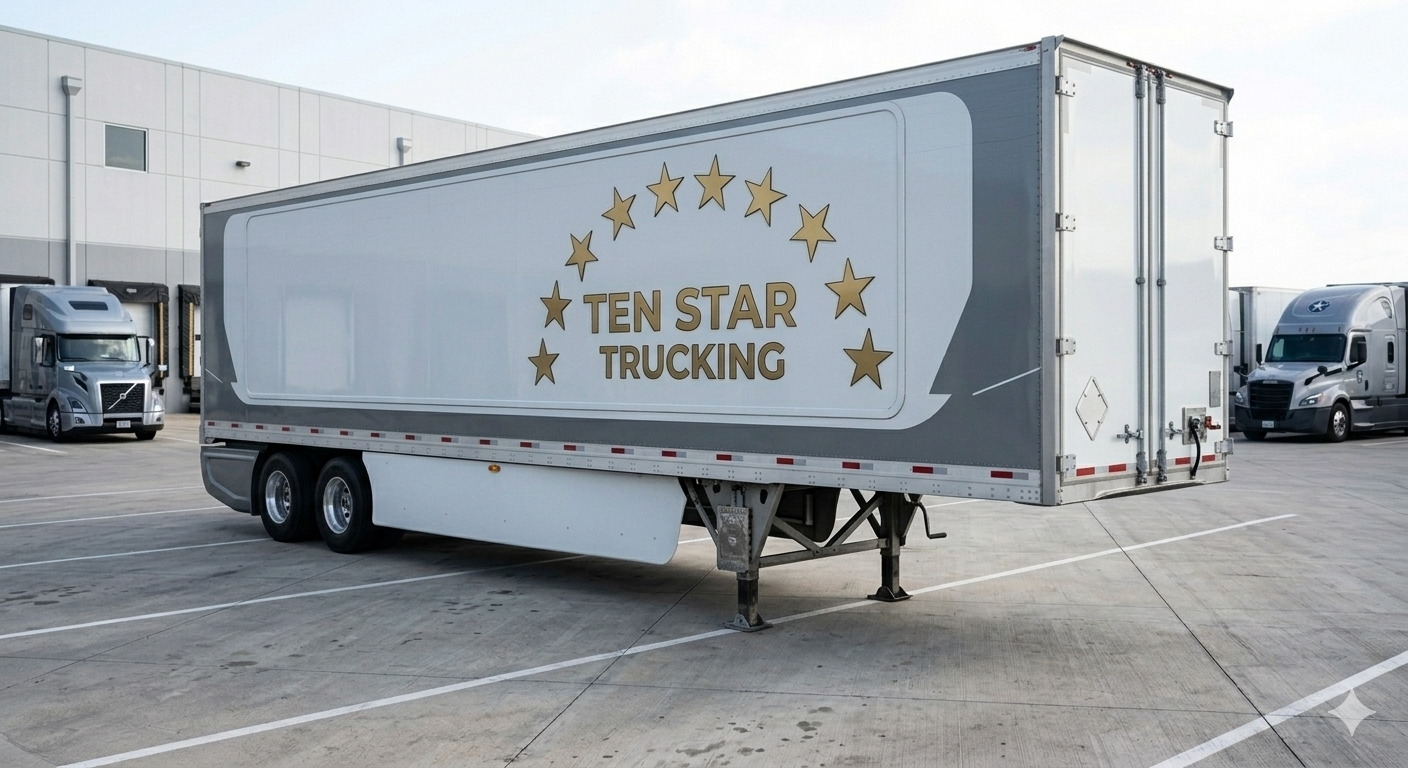
The Driver’s Guide to Semi-Trailer Landing Gear: Cranking Smart, Not Hard
As a truck driver, dropping and hooking is a daily reality. But let’s be honest: wrestling with stubborn, frozen, or stiff semi-trailer landing gear is one of the most physically demanding parts of the job.
Landing gear holds up to 60,000 pounds of static weight. When you are the one manual-cranking that massive load, doing it incorrectly can easily lead to a torn shoulder, a thrown-out back, or a dangerous dropped trailer.
Knowing how your landing gear operates, using proper body mechanics, and spotting problems before they cause a breakdown will save your body and your clock.
The Anatomy: What’s Happening Inside the Legs?
Your landing gear relies on a mechanical advantage to lift a fully loaded trailer. The system is split into two main sides, connected by a cross shaft that forces both legs to extend or retract at the exact same time:
- The Driving Leg: Usually on the driver’s side, this leg houses the internal gearbox and connects directly to your manual crank handle.
- The Driven Leg: The passenger-side leg that mirrors the movements of the driving leg.
Master the Two-Speed Gearbox
Trying to crank a loaded trailer in the wrong gear is an express ticket to an injury. Standard landing gear uses a two-speed system that you control by sliding the crankshaft handle inward or outward.
- High Gear (Pull Out): This moves the legs the maximum distance per turn. Only use this when the legs are in the air. If you try to lift a loaded trailer in high gear, the handle will lock up or kick back violently.
- Low Gear (Push In): This gives you maximum mechanical leverage. It takes more turns to move the legs, but it is the only gear you should use when the trailer legs are touching the ground and bearing weight.
5 Rules for Safe, Injury-Free Cranking
Save your joints and protect your equipment by building these habits into your daily pre-trip and post-trip routines:
1. Clear the Danger Zone
Never “speed-spin” the handle or let it rip out of your hand. If it catches a heavy load, it can spin backward with enough force to shatter a wrist or jaw. Keep your face and body completely outside the swing path of the handle.
2. Position Your Body for Power
Do not twist your spine or bend awkwardly from the waist while cranking. Plant your feet wide in a solid stance, grip the handle firmly with both hands, and engage your core. If you must use one hand, brace your other hand firmly against the side of the trailer for stability.
3. Leave the One-Inch Gap When Hooking Up
When backing under a trailer to hook up, never try to slide fifth wheels under a trailer that is resting flush on the ground. Always inspect the height first. If necessary, crank the landing gear to leave at least a one-inch gap between the fifth wheel plate and the trailer apron. This ensures the tractor can smoothly pick up the weight of the trailer nose, preventing you from high-pinning the fifth wheel or slamming into the trailer structure.
4. Inspect the Landing Site Before Dropping
Before you drop a trailer, make sure the ground is level and solid. Concrete is always the first choice. If you must drop on asphalt, hot summer days can cause the landing feet to sink right through it. If you are forced to drop on soft dirt or gravel, always place solid wood blocks or sleepers under the shoes to distribute the weight.
5. Secure the Handle
Never let the crank handle dangle loosely or stick out into the yard lane when you are done. Always tuck it securely back into its designated travel hook. A loose handle can strike objects while in transit or catch a passerby in a tight parking lot.
Driver Pro-Tip: Surviving the Winter Freeze
When temperatures drop below freezing, water trapped inside the landing gear housing turns to ice, completely seizing the gears.
If you find yourself stuck with frozen legs, do not take a hammer to the gearbox—you will only crack the housing. Instead, try gently tapping the lower leg assembly to break up ice blocks, or use a portable propane torch to carefully warm the gearbox. On your next stop, make a note on your DVIR so the shop can grease it with low-temperature lubricants before your next run.
📋 The Drop & Hook Landing Gear Checklist
Bookmark this quick reference for your next drop and hook:
- Before Uncoupling (Dropping):
- Verify the ground surface is flat, level, and solid (use wood blocks on dirt/asphalt).
- Shift to High Gear to lower the legs rapidly until they approach the ground.
- Shift to Low Gear for the final turns to firmly plant the feet.
- Stow the crank handle securely in its travel hook.
- Before Coupling (Hooking Up):
- Check the trailer height before backing completely under.
- Crank the gear so there is at least a 1-inch gap between the fifth wheel and the trailer apron.
- Back under slowly until the fifth wheel locks, preventing a high-pin scenario.
- Shift to Low Gear to lift the feet slightly off the ground, then switch to High Gear to fully retract the legs.
- Stow the crank handle back in its travel hook before hitting the road.
Leave a Reply